I'm on my way with assembling the first Charity Quilt for the Ford Cares Breast Cancer Quilt. It's just what I needed to keep my mind occupied instead of stressing over other things that you can not control. Each year I make these, it humbles me and makes me realize although we have had our share of issue these past 3 years, we are still so blessed.
I was only going to do a couple of rows, I was curious to see how the white would turn out with the blocks. Here's my answer. I like it however I'm not to happy with the white fabric purchased. It's a little see through. So, when I put the cream warm and natural underneath it, I think it will dull the crisp white... I'll have to think on this one..
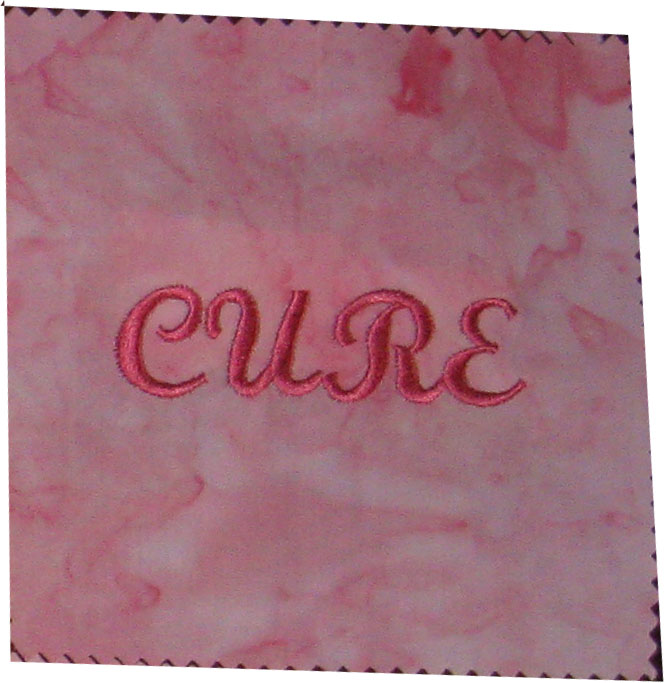
Then I thought I'd like to work on the center logo part. I went to put the white around the white embroidered logo provided and decided it needed a dark border before the white is added. So, I added a 1" pink inner border to match the other appliqued ribbons on the quilt. Here's the center by itself.
So I kept going from there and now I have the top part, the left and right panels and the center grid all completed. Maybe today I'll still add the white strips to the left and right panels and join them with the center grid of blocks to complete the whole middle section. Of course, I'd then have to add the top to the middle section and heck, I'll be 75% complete with the top.
Here's the left, right, and middle panels handing on my banister (aka quilt rack) as soon as you walk in my home.
Making progress and that makes me happy!!
Thanks for stopping by!
~*~Trish~*~